The installation process of a radiator will require the use of a tape measure to accurately measure the width and height of the radiator as well as the surface area of where the radiator will be installed. Another tool that is required is an electric power drill to attach the radiator to either a two pipe steam system or a one pipe system. The radiator itself attaches to a radiator valve that is located at either the right or left sides of the radiator. In order to attach the device, use a wrench to tighten the nuts onto the valve tails. It is important however, to not over-tighten the valve tails as this will cause damage to the surface of the connections. The model, size, and age of the radiator will determine the size dimensions of the nuts and radiator valves that are needed for assembly.
If a newer model will be installed, there should be various size dimensions of radiator valves that can be used according to the model of the radiator. Certain models will require that brackets be attached to a small area of the wall that is typically located under a windowsill or in an isolated area of a room. The most common type of radiator is the column radiator which is attached to pipes directly into the floor. This type of radiator is still in use in homes that were built before 1978. Those who want to preserve the beauty of a vintage home will not remove this type of radiator. Those who want to update an old home with a new radiator can do so. If a home is not too old, a new radiator can be installed to fit with the pipes easily.
If the goal is to install a brand new steel radiator, simply take a wrench and undo the nuts on either side of the old radiator. Before untightening the nuts, turn the knob on the radiator valve to turn the radiator off first. Make sure to use a plastic container to catch the water that will drain directly from the radiator valve. Be sure to do one side at a time. When the water is drained, carefully lift off the old radiator and set it aside. Radiators can be a little heavy so it is best to have a friend help in lifting it if handling the radiator cannot be done alone. Next, use a tape measure to measure the area of where the radiator will hang on the wall. It is also efficient to measure the length of the top of the radiator itself.
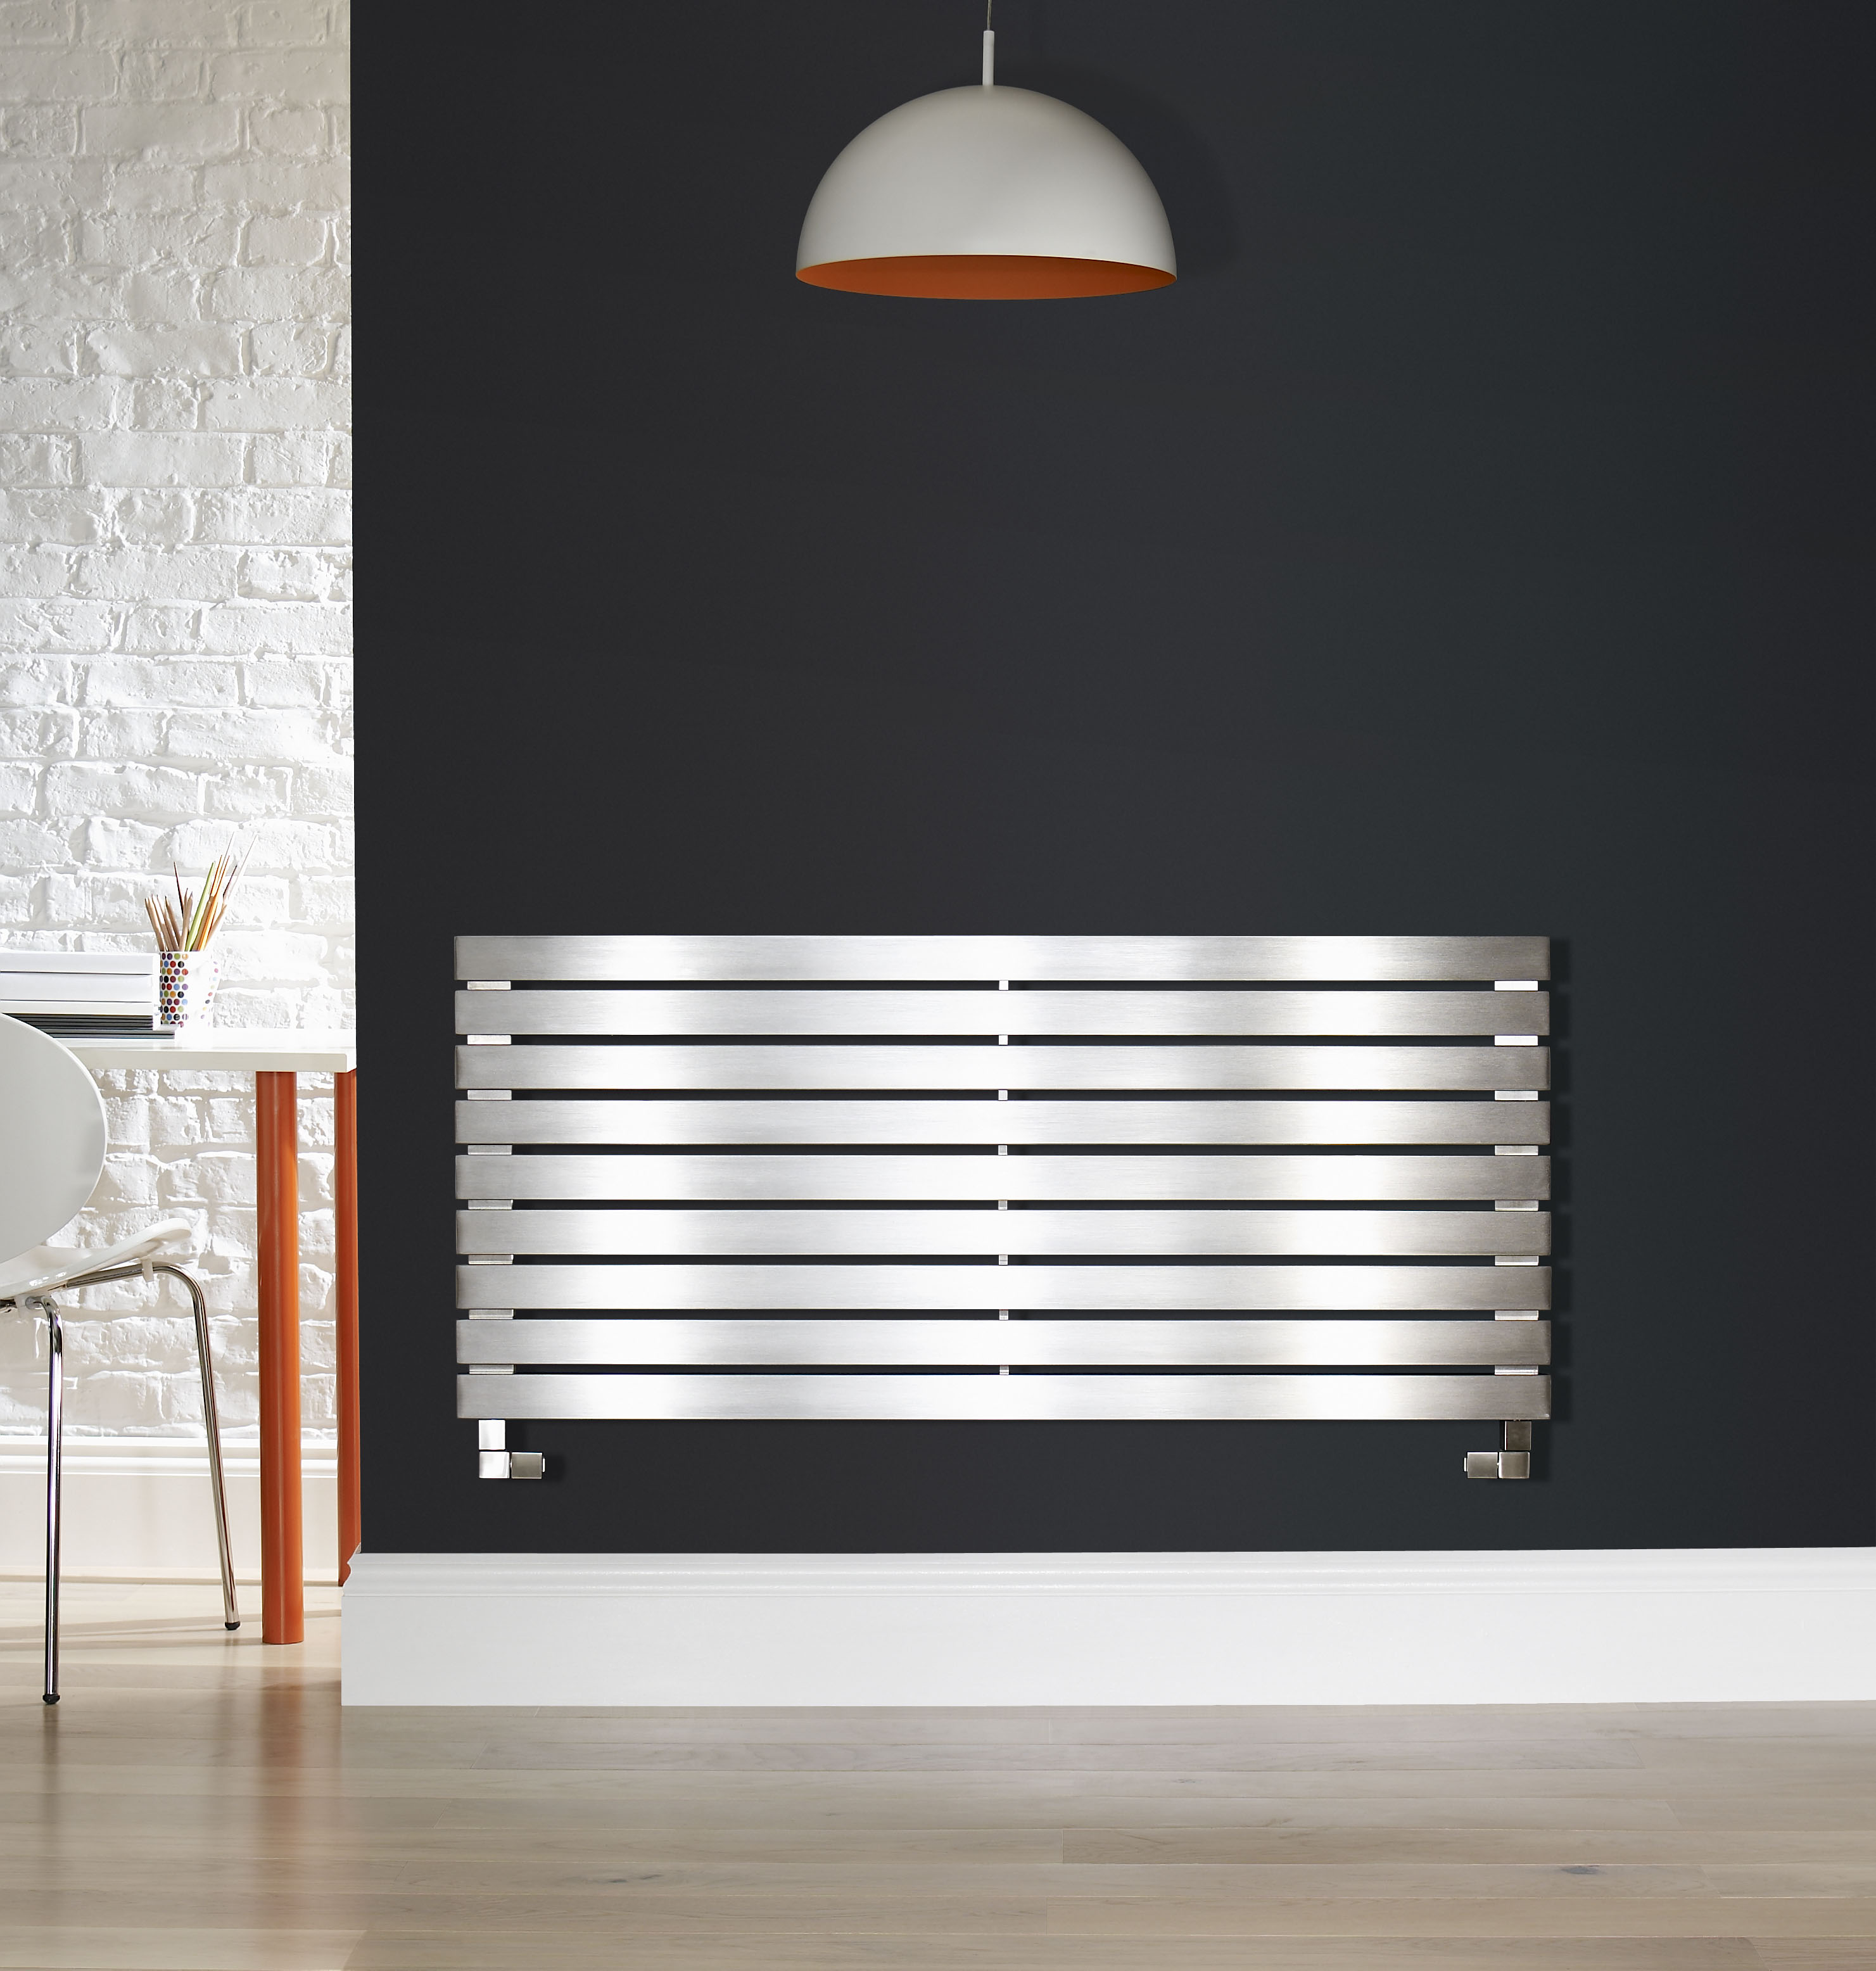
If it is a steel column radiator, metal hooks can be attached to the back of the top area of columns. This can be used as a guide to determine exactly where to hang the radiator on the wall which will have brackets that are attached with screws and nuts. Make sure that the brackets on the wall will be level with the attachments on the radiator. These brackets will ensure the stability of the radiator and also functions as a support to hold its weight. If a flat panel radiator will be mounted on the wall all that is needed are the brackets. A flat panel radiator will fit snugly on these brackets.
After hanging the steel radiator onto the brackets, simply attach each end of the radiator to the radiator valve by tightening the nuts. Do not over-tighten them. Lastly, bleed your radiator of pressure with a bleed key. Every radiator that you order will come with specific instructions and additional parts for assembly. For more information in this regard, visit AEL Heating.


