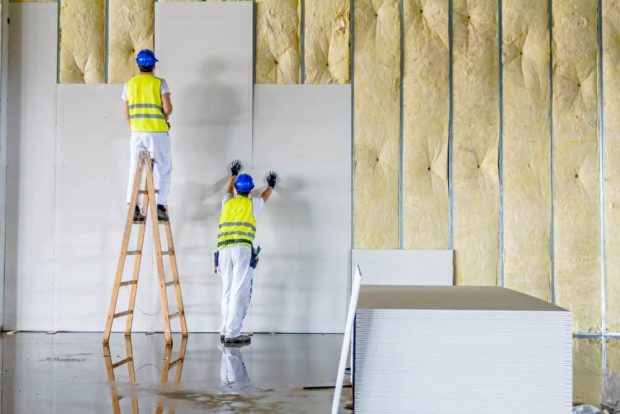
Drywall
This is the most common as it had been the default finishing method for the last 50 years. Drywall composition consists of screwing 4×8 or longer sheets of Gypsum board / Sheet rock to the studs of a wood or metal framed wall. The seams of these boards are then taped and the nails covered. This is called a level 1 Finish. Then, the tape if covered with 3 coats of mud, bringing it to a level 4 finish. Walls are then sanded and ready for primer. Primer must be applied before the paint in order for the paint to adhere properly. It is worth noting that sometimes, the 3rd coat is sometimes skimmed, making it 4 coats of mud / drywall compound. This is done for commercial settings or homes where the wall would be painted with a high-gloss paint, which would reveal imperfections. This is called a Level 5 finish and is as good as it gets unless the entire walls were skimmed, but even that could leave imperfections if sanded improperly.

Lathe and Plaster
Lathe and plaster is not commonly used anymore and was used before drywall was readily available. This consisted of horizontal wood slats running between each stud with think plaster being loaded and pushed in between these slats in order for the plaster to hold. This plaster is thick, gritty and sandy. Another finer plaster is then applied on top with multiple coats, depending on the skill of the plasterer. The downside of this type of construction as well as mesh and plaster is that it may reduce the quality of a Wi-Fi signal.
Mesh and plaster
Mesh and plaster was not a very common method used and is encountered here and there. This method is very similar to lathe and plaster but instead of slats of wood, the plaster is mounted onto, you guessed it, wire-mesh. Because of the thick wall composition and of course the metal mesh, this can sometimes severely hinder the transmission of wireless signals throughout the home and has led many to wire their homes with Ethernet cable or Wi-Fi extenders that work through the electrical circuits of the home. This method was slow, expensive and very difficult to work with when renovating.
Button-board
Button-board is the predecessor to drywall and a sister to the lathe and plaster system. This system used 2×6 or 2×8 boards that were easily manageable by one individual. This allowed one person to board up a room on their own, which was a great concept, but the reality of the matter is that construction workers work in crews in order to finish projects quickly. The other downside of this system is that it still required workers to cover the entire surface of the wall and ceiling with drywall compound or plaster once boarded. This made the finishing process only slightly more efficient than lathe and plaster. It was obvious to construction research and development that there was a better way to do this.
Another point is that many of these systems were not forgiving to other trades having to work with them. For an electrician trying to run wire through a home, she/he had to cut these materials. If we’re talking about wire mesh and plaster, you can imagine the mess it would create as well as how much a wire would catch on this mesh or even lathe. Plumbers often had as hard of a time if not worse as they had to cut out more walls to run their materials during any kind of retrofit.
Combination
Sometimes you will see a combination of the above methods. You may see button board with plaster overtop or lathe and plaster was cracking throughout a home, which was then covered with the “new” method of mounting button board on top. This sometimes creates surprises when opening walls that are several inches thick.
Double layer Drywall
Sometimes you will encounter multiple layers of drywall. Here are some reasons.
2 Times half inch = Firewall
Between adjoining units, additional fire protection is needed for these walls in order to slow down the passage of heat and flame, allowing for the occupants to escape. These walls are called Party walls and have higher fire rating requirements than your regular interior/exterior walls.
2 Layers of drywall separated by strapping
While stipple ceilings or popcorn ceilings were common and did not so much bug occupants in the 60s to 90, many are now doing everything they can to get rid of this unsightly texture. While removing the texture and skimming is the best and safest method, some have chosen to add strapping (1×3 wood) to the ceiling and drywall overtop. If one is to follow this method, it is important to understand not only the risks but also the composition and its risks. Without doing a full 180 and talking about this topic altogether, we will simply mention that adding a thin layer of drywall may not provide the stability that some expect, leaving you with a sagging ceiling over time.
For more articles and information on this time of work, click here. We at PatchBoyz would be happy to help you evaluate your options.


