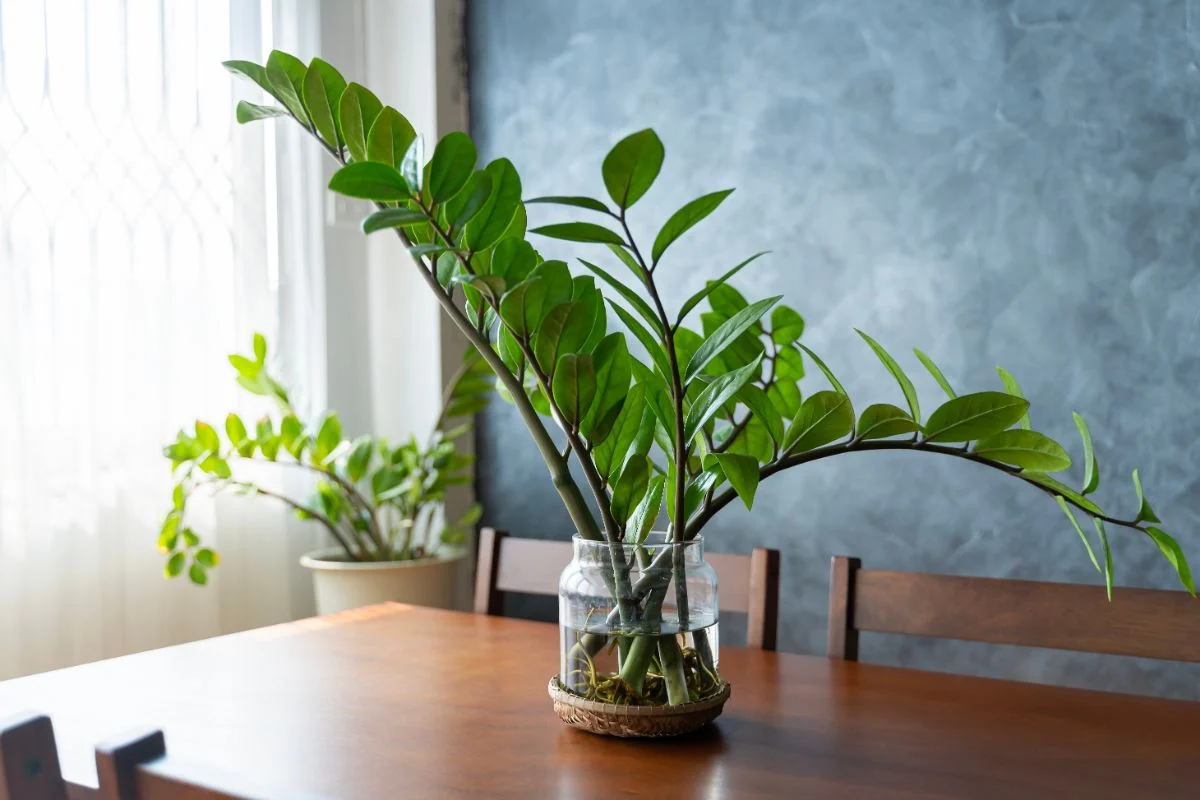
The Zamioculcas zamiifolia (or ZZ plant) has both plant enthusiasts and interior designers falling head over heels for its personality, as well as its stunning looks. The Eastern African perennial houseplant is a show stopper in any room in the house, thanks to its glossy oval leaves zigzagging up its graceful, tall stems. As it’s a forgiving plant in nature, it can thrive in any room.
It needs only a small amount of water and can even withstand dim light, so you can leave it to fend on its own for a few weeks, at least. That in itself makes it a great option if you’re looking for your first houseplant.
Hardiness and beauty are two of the benefits of the ZZ plant. It’s also believed to help purify the air, as it’s related to peace lilies and philodendrons, two common houseplants capable of removing such volatile organic compounds as benzene from indoor air via their root systems. While it may take several larger plants in a small space to achieve the full effect, a splash of green and some extra oxygen certainly help.

Note for parents: A ZZ plant is potentially toxic to humans, as well as to dogs and cats. While you’ll be fine touching a ZZ plant, the sap is capable of causing contact dermatitis. If you touch it, just make sure to wash your hands afterward.
Eating or chewing it should also be avoided. While it isn’t fatal, it can result in discomfort and swelling. Position your plant on an inaccessible tabletop or shelf to ensure it’s out of your children’s reach. Here are some tips on caring for your zamioculcas zamiifolia.
Caring for a ZZ Plant
You’re about to learn a few things about the ZZ plant, including its preferred environmental factors. These low-maintenance, hardy plants don’t require much to gradually grow into stunning decorations for any room in your home. Just make sure not to overwater them.
Light
Position the plant in indirect, bright light. If your window faces east, west, or south, avoid sitting the plant in direct sunlight to prevent the leaves from easily scorching or burning. In a north-facing home, you can place it almost anywhere.
Water
A ZZ plant can tolerate droughts, which means it’s capable of storing water. It also means you should only water it once every few weeks, or even less in colder, faker climates. Overwatering is a common issue with the ZZ plant, so make sure that the soil has dried out completely before you rewater it.
Soil
If the soil drains well, almost any good-quality potting mix appropriate for a ZZ plant will be fine. Some guides recommend adding in a portion of succulent soil for improved drainage. Just make sure that there’s a hole in the bottom, and if there isn’t, add drainage rocks to fill the bottom before you add in the soil. That will help to prevent the roots from getting waterlogged or drowning.
Temperature and Humidity
While ZZ plants are drought-tolerant, they grow best at around 70 degrees or room temperature. So if you live in an area with cold and dry winters, sit your plant close to a humidifier for the season.
Repotting a ZZ Plant
If you see that your ZZ plant has been growing slowly or has begun to drop without any obvious reason, take a look at the roots. If they appear to be twisting around each other and there are more roots than soil around the outside, put it in a larger container.
Propagation
One of the great things about the ZZ plant is how easy it is to propagate. Of course, if you want more plants, you still need to do the work. Here’s how to propagate ZZ plants from rhizomes:
- Don’t water the root ball for two weeks.
- Remove the plant from the container.
- Slice off a tuber with stems or roots growing off it.
- Allow the wound to stop weeping.
- Replant with a well-drained mix, and thoroughly water it.
And here’s how to propagate ZZ plants from a leaf cutting:
- Pick a mature, healthy plant.
- Cut a stem that’s six inches or longer, and with at least two leaves on it.
- Place the stem’s cut end into water, and make sure that at least one of the leaves is sitting above the mix’s surface until you see rootlets form.
- Finally, root the plant into a potting mix.


